
72046 Nintendo Game Boy
I still remember the first time I saw one of these in my life. Of course, it wasn't mine, and although I was able to play long games and enjoy it, I never had one. Well, now I do, and it's LEGO! With it, we can also enjoy two great icons: Super Mario Land and Zelda.

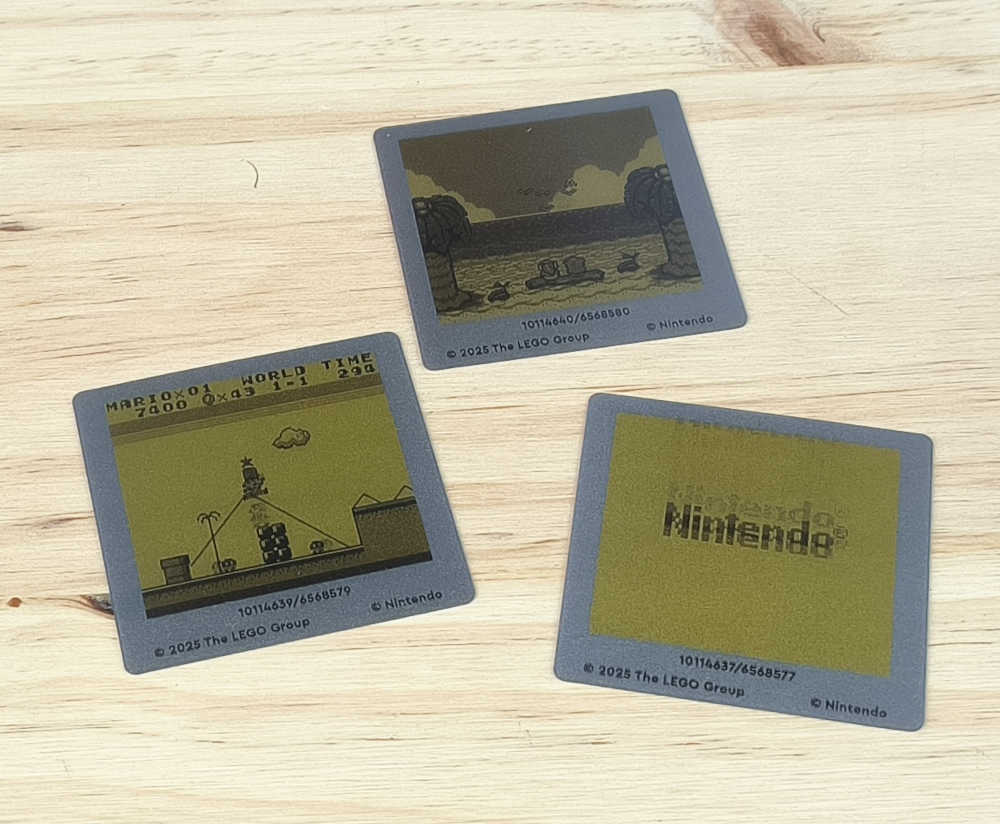
Here you can see the contents: just five bags, the manual, stickers and... wait a minute! What are those pieces of cardboard or plastic simulating the screen? Mmmmm, they're so well made! If you look closely at the one with the word Nintendo on it, you might notice some ink smudging... That's because they're laminated images that move when you shake them gently!

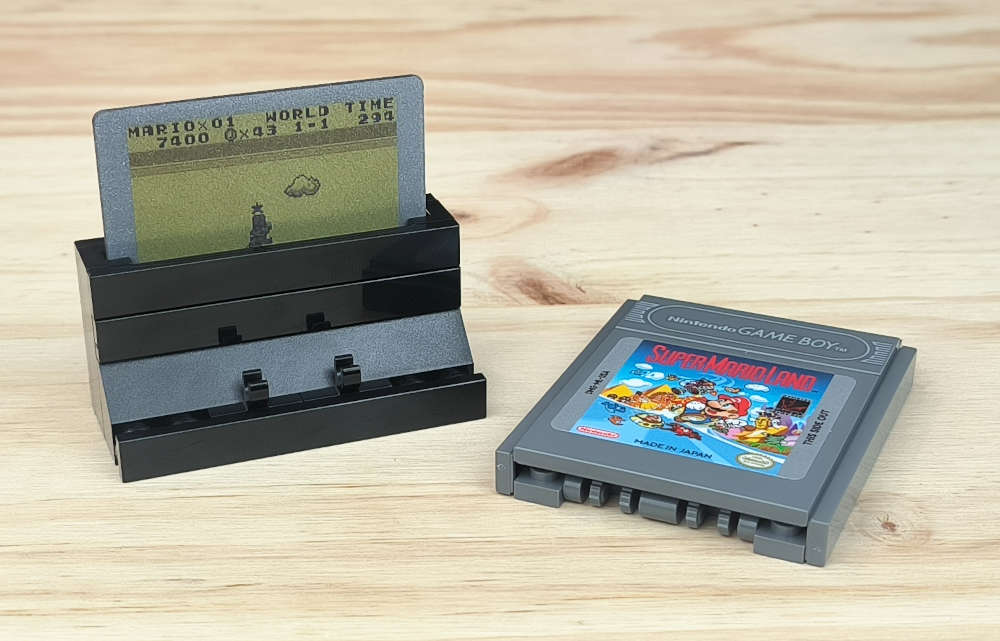
The first thing we will build is the Super Mario Land cartridge. It's no mystery, just a few brackets and plates and it's ready, but doesn't it look great? It's a shame about the sticker on the 6x6 tile; it would have been nice if the model didn't have the only two stickers it has.
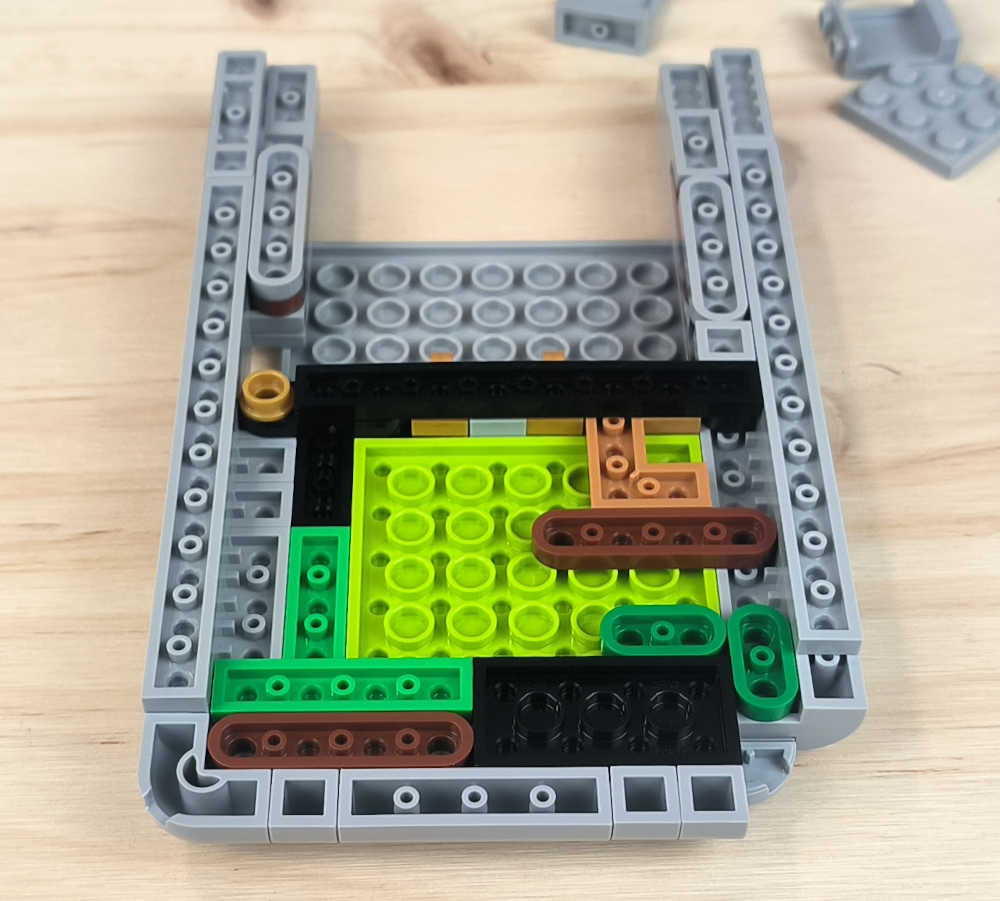
In this section, we are going to build the back of the console. As you can see, until almost the end, it is nothing more than a clever sequence of plates. At the end, we add a few small structures that make you wonder what will come next.
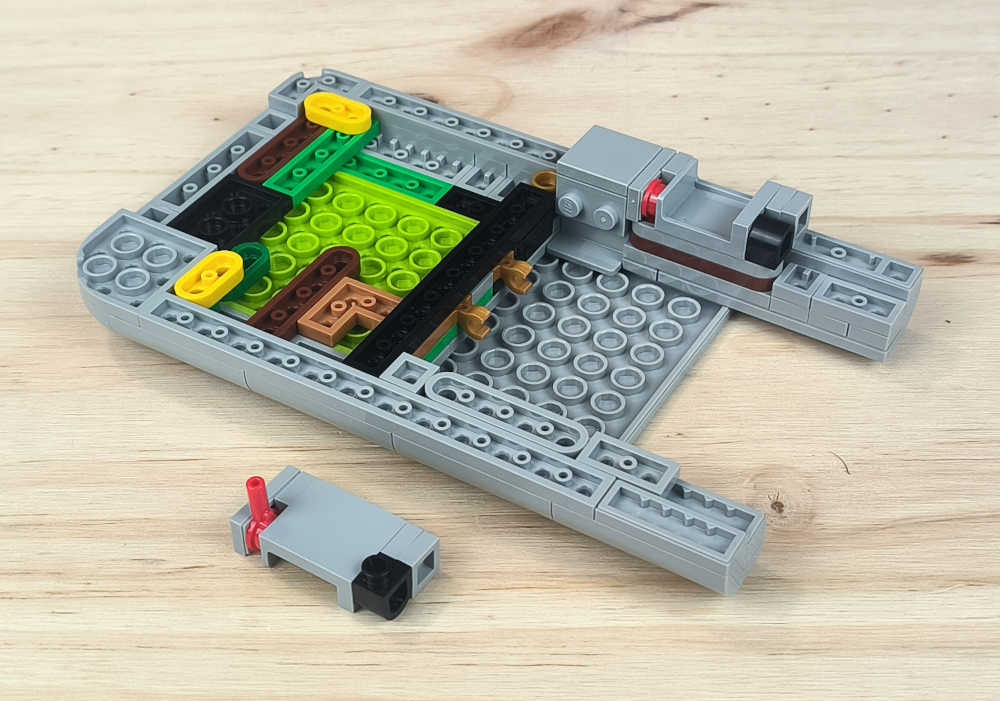
This part is absolutely delightful and complex at the same time. The use of round plates with holes is essential and wonderful. It is constructed in all directions using brackets and 1x1 round plates with holes.
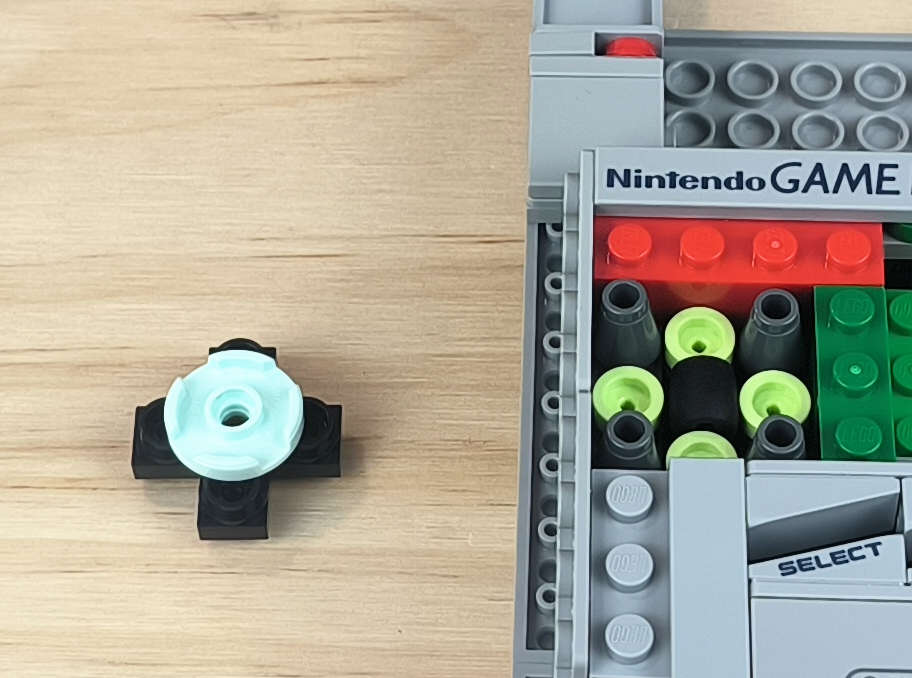
The structure of the controller is simply sublime. When you use it, it feels like the real thing!
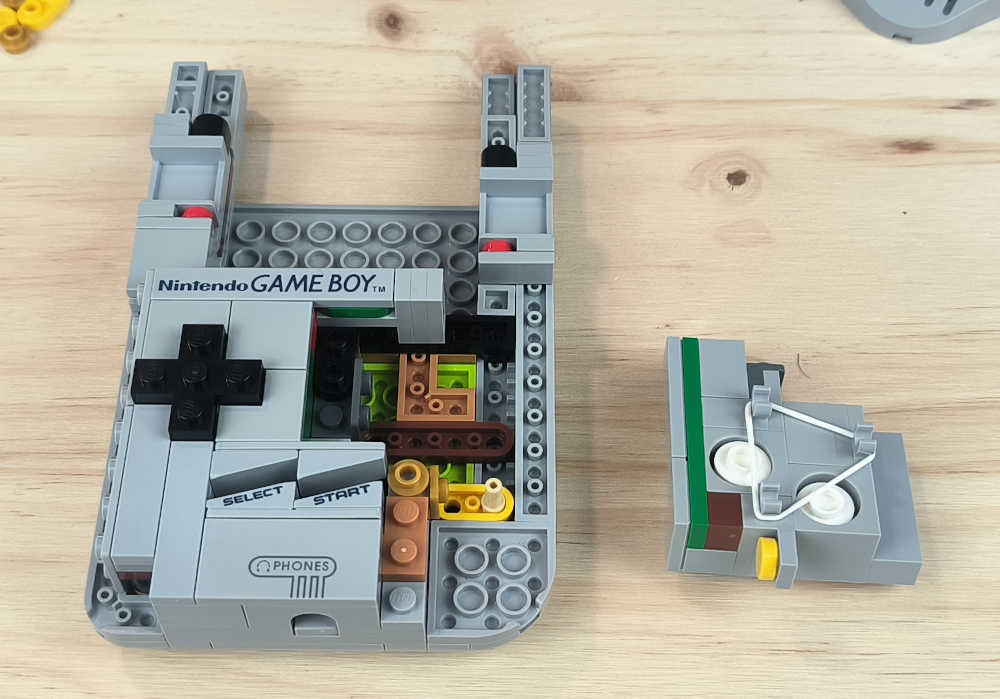
In this image, you can see how the buttons are constructed at the bottom. It is effective, although the buttons at the top remain a little loose, as can be seen in the image.
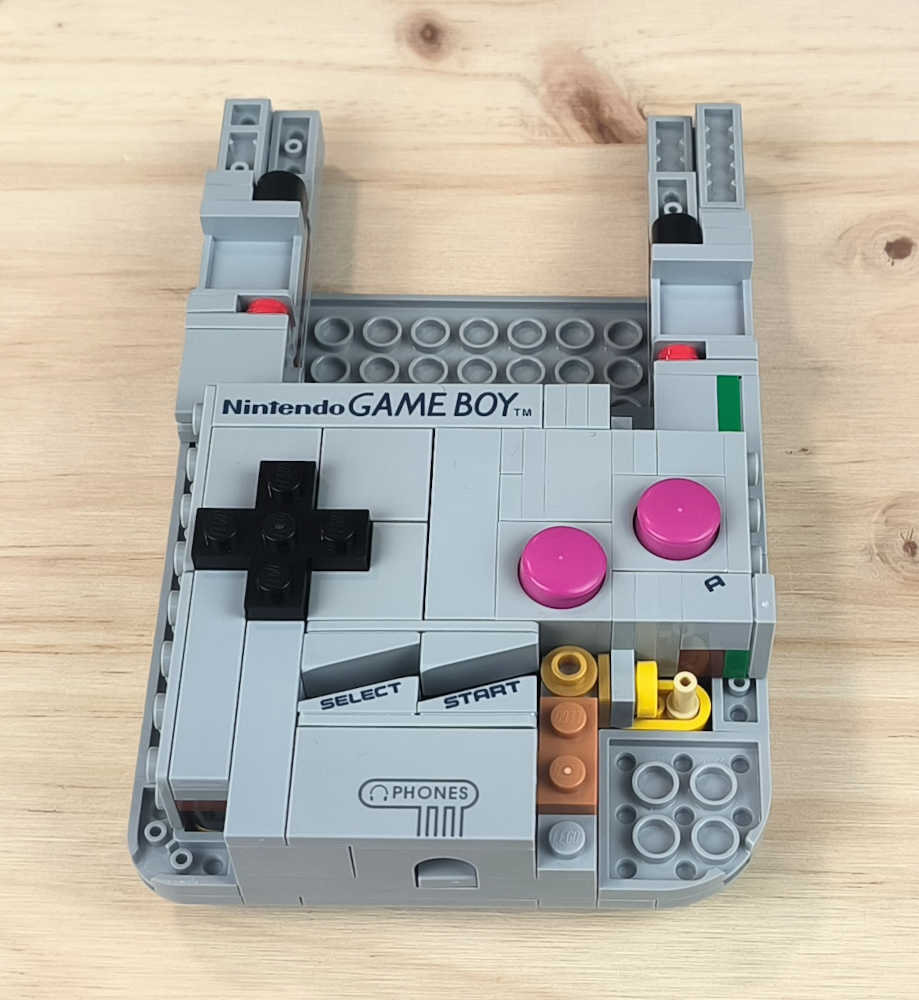
The screen is also built in SNOT. After that, tiles are applied to the sides of the console, on which the contrast button, volume, external connector, headphones, etc. are printed. The power button is as simple as a Technic pin with a 1x1 brick with a hole. It's simply sublime how it works; it feels quite real.
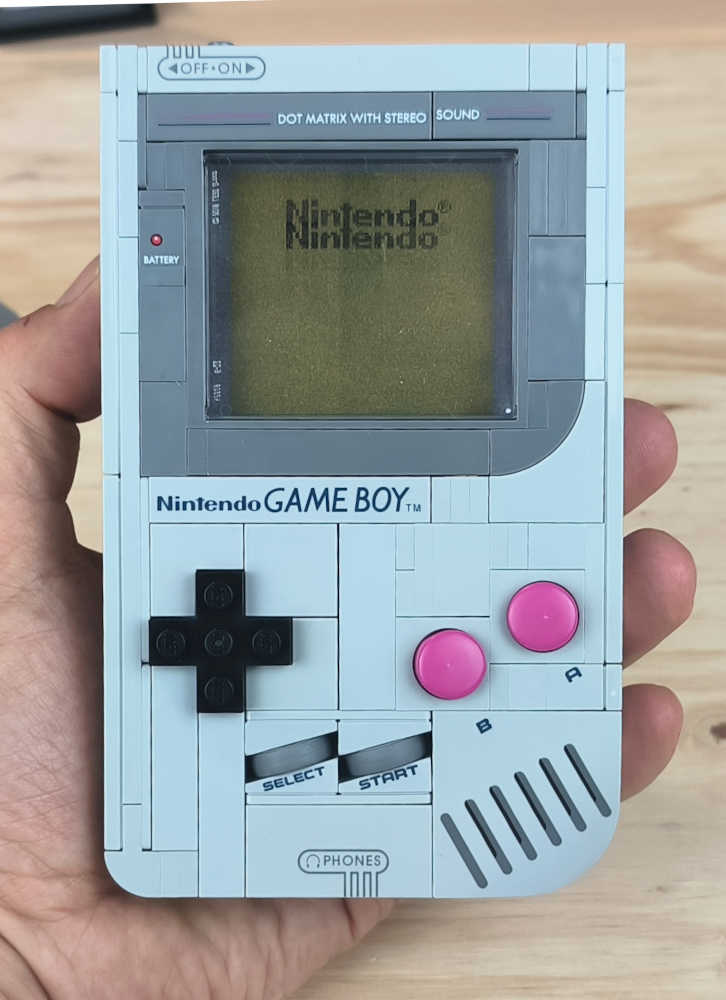
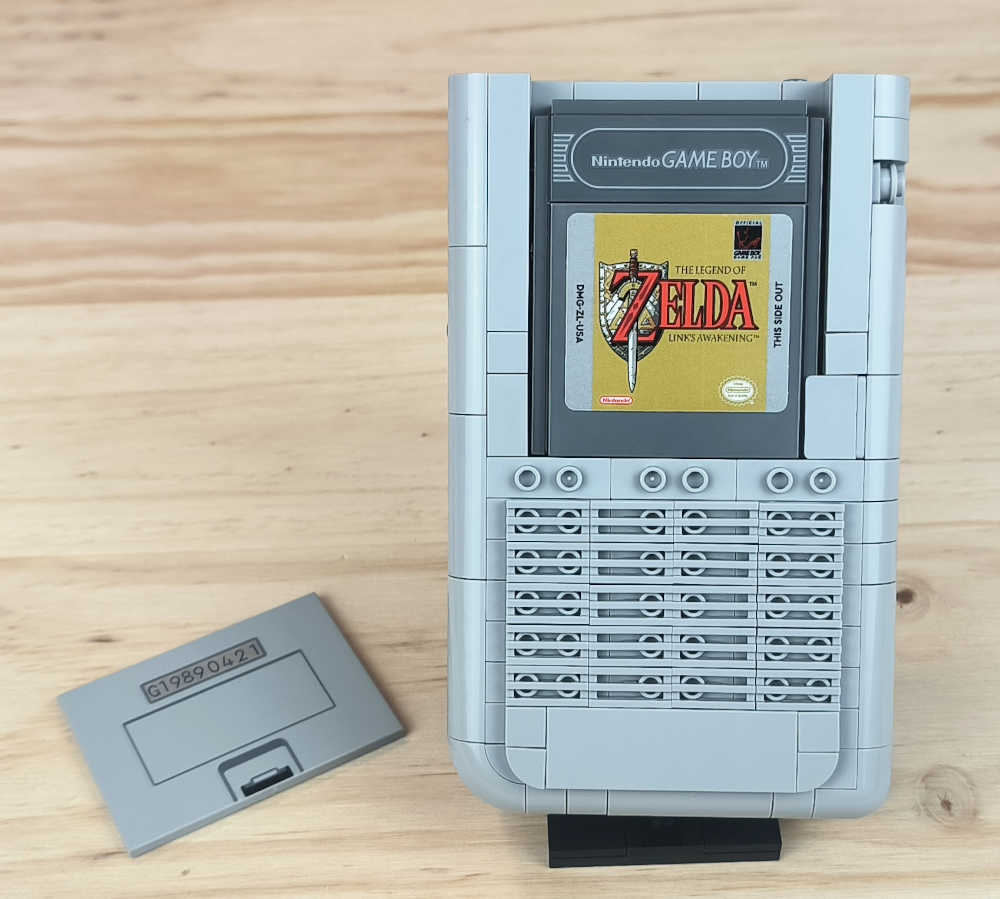
As you can see, the part where the games are inserted is very simple but very effective. You can also see how precisely the cartridge fits into the console slot. Perhaps the simplest part is the interchangeable screens, but this does not make them any less effective.
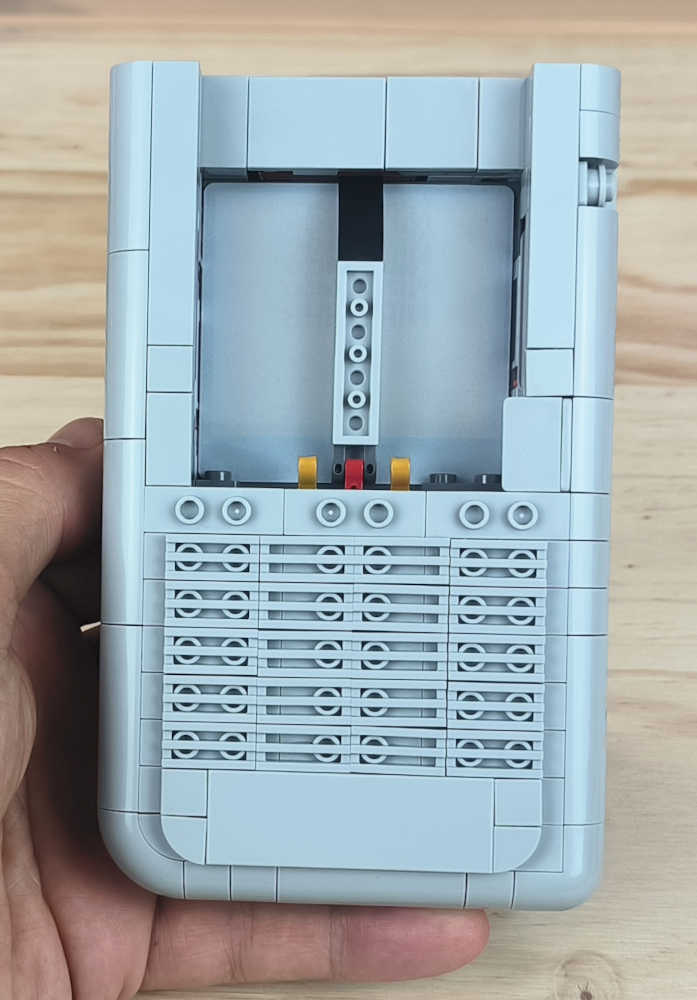
Here you can see how the integrated cartridge fits and how the lower right side panel (2x1) keeps it securely in place, ensuring that the interchangeable screen fits as well as possible. Does the console's serial number mean anything to you? :D
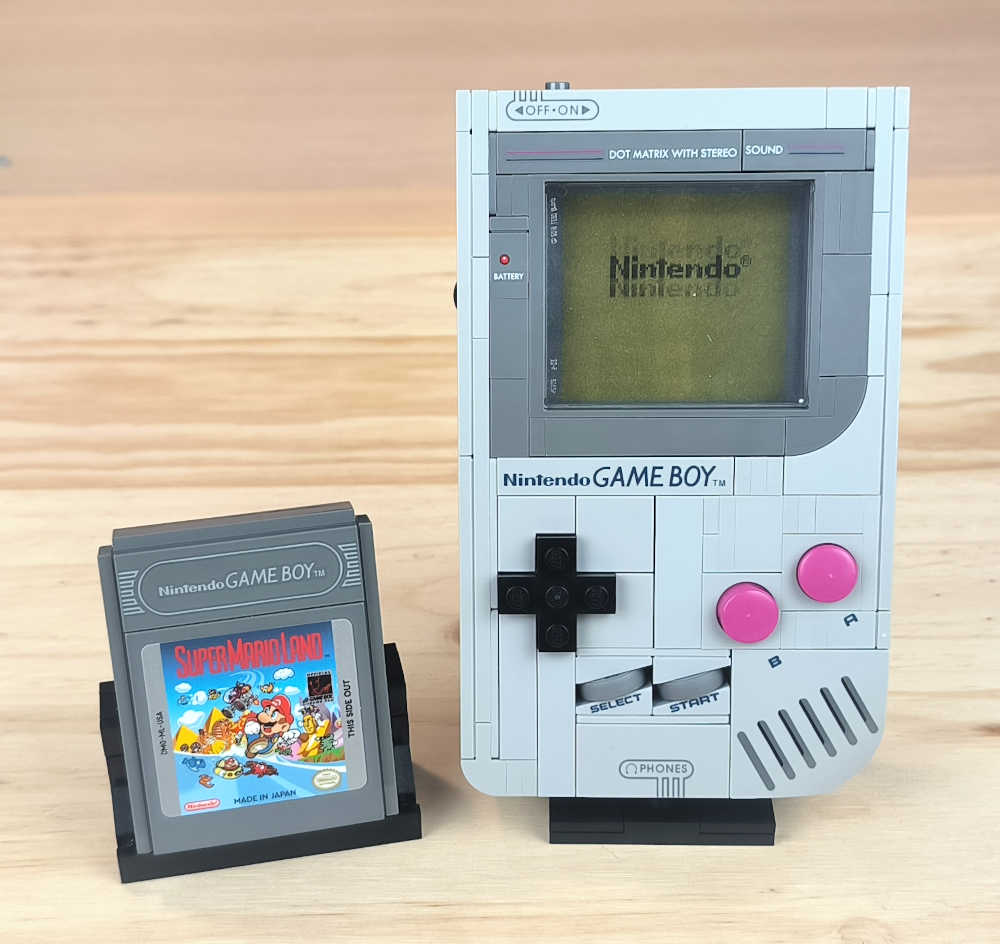
Without a doubt, this is an impressive little set, very detailed and quite faithful to the original console. It hides many techniques inside, but the best one, in my opinion, is the use of round plates with holes. It has a good set of printed tiles, but it would have been amazing if the cartridges had been printed too. If I had to offer one tiny piece of constructive criticism, it would be to have requested a 1x2 tile printed with a Gameboy and a minifigure playing it. That would have been great :).
We would like to thank LEGO for providing the set for review, although LEGO does not endorse or support the opinions expressed herein.
33670