
Set Review ➟ LEGO® 71495 Dreamzzz Mateo vs Cyber Brain Mech
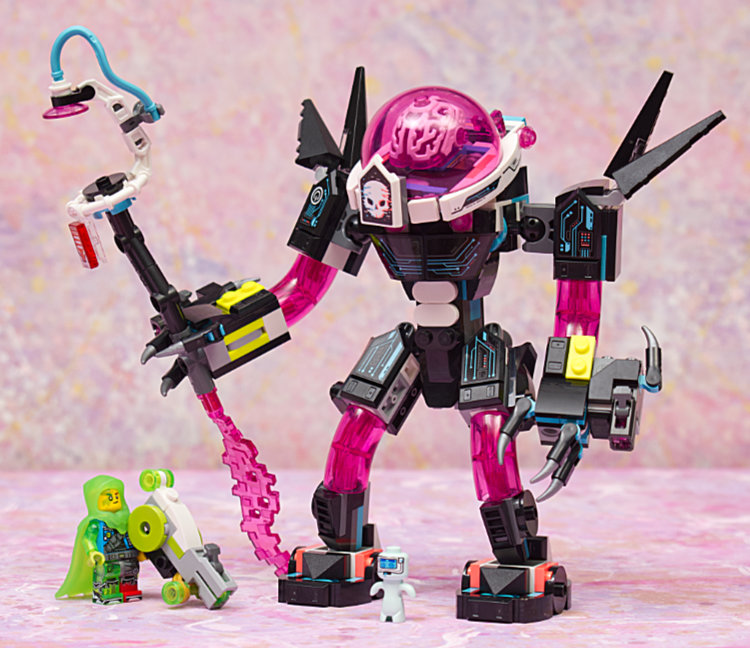
Woohoo! Another Dreamzzz set where the builds are substantially different. Similar to 71481 Izzie’s Dream Animals set, this set uses parts from two of three bags to reconfigure the model. Here we get two builds which LEGO calls Cyber Brain Mech and Cyber Brain Scorpion Mech. As the kids say, let’s get into it!
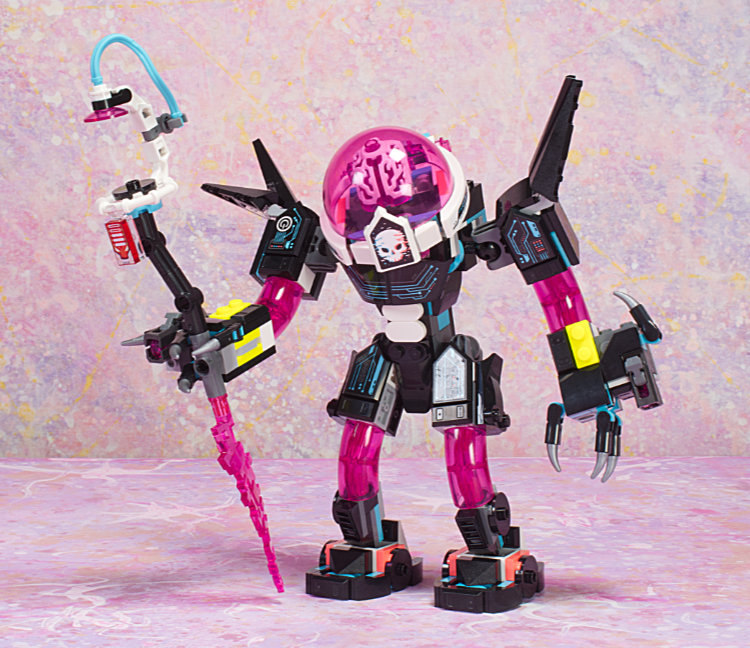
The Cyber Brain Mech
The Cyber Brain Mech is a fairly simple build with the only major points of articulation being the shoulders, hips, ankles, and neck. Even so, the figure has fairly good balance and can be placed in various positions with relative stability. Visual interest is good from the front and sides, but from the back it is pretty much just plate undersides.
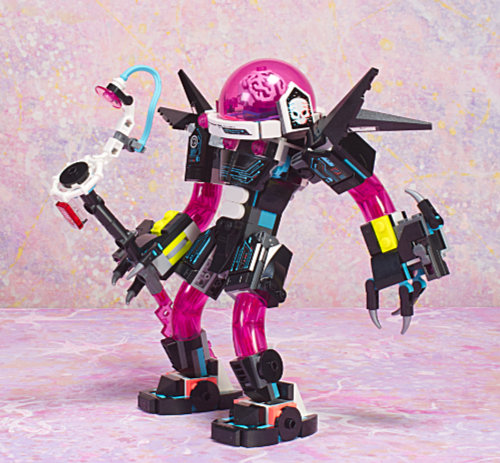


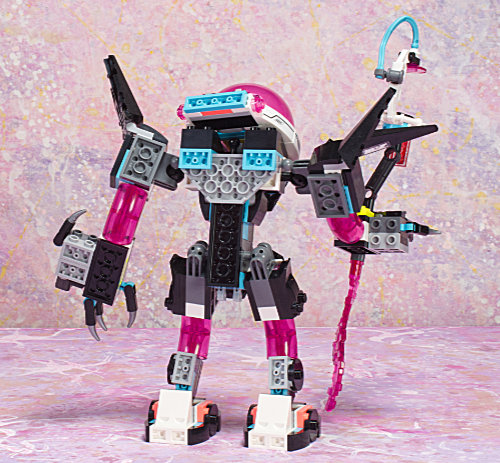
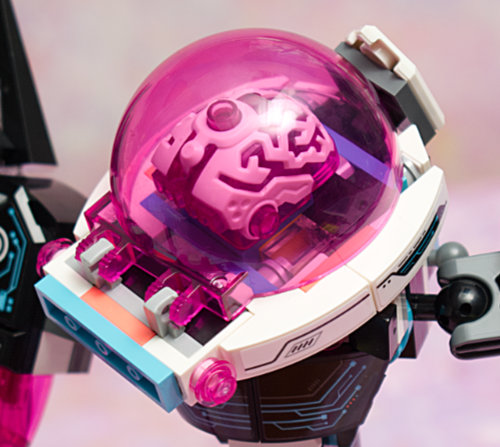
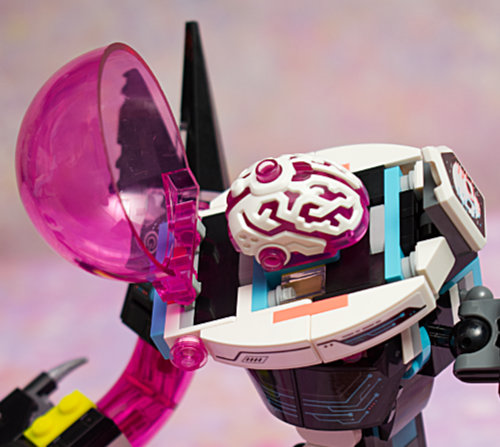
The head is attached with a blue axle/friction pin and allows for 360 degrees of rotation. Additionally the head dome is hinged.


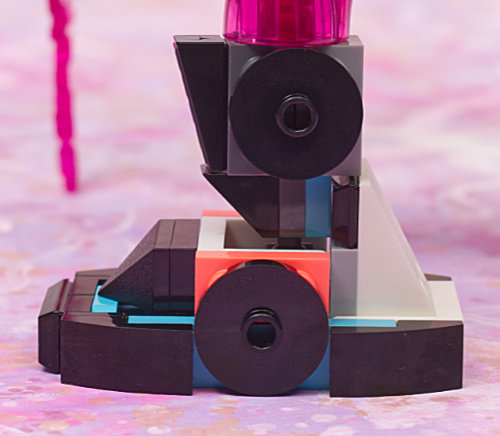
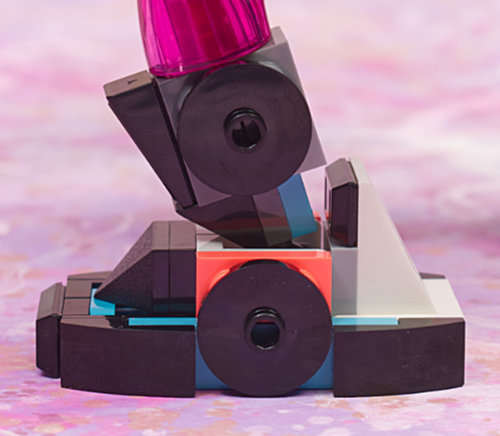
The ankles use small ball-and-sockets. While the assembly allows for quite a bit of side-to-side flex, the front-to-back is limited to about 20 degrees.
While there is a small ball connector behind the shoulder assemblies, it does not significantly impair positioning of the shoulder.

Minor points of articulation are the fingers and shoulder fins. I found the clip-attached shoulder fins had a tendency to either fully or partially de-clip. I suspect that is due to some clutch issue with transparent plastic on the clip parts.


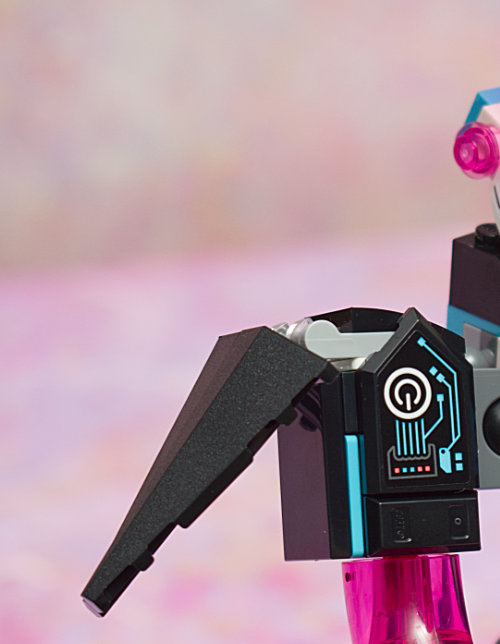
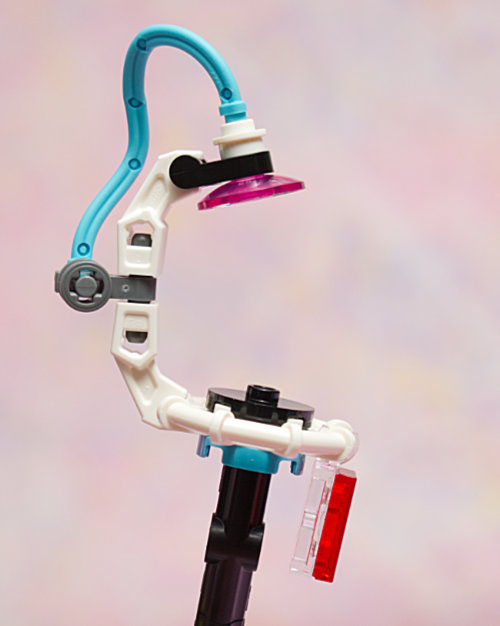
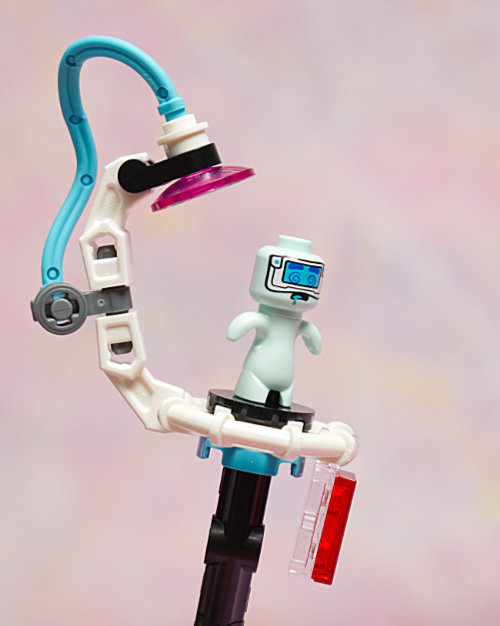
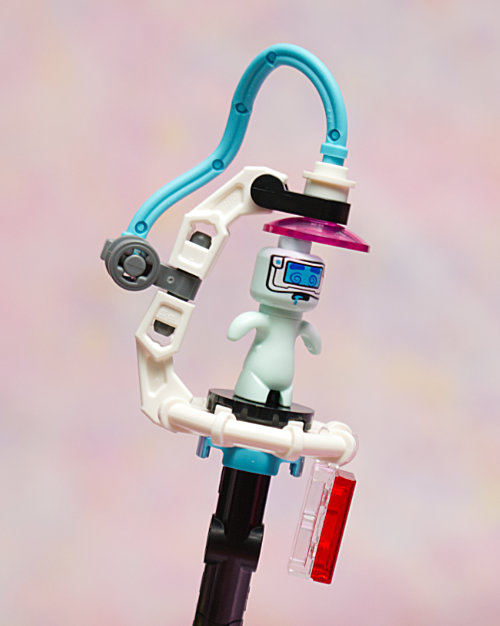
Cyber Mech wields a staff which connects to either hand with a pin.

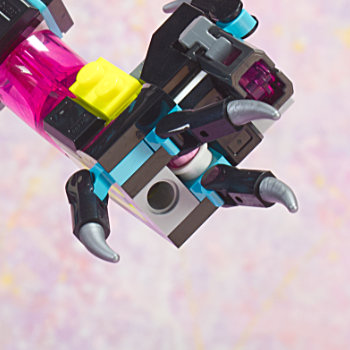
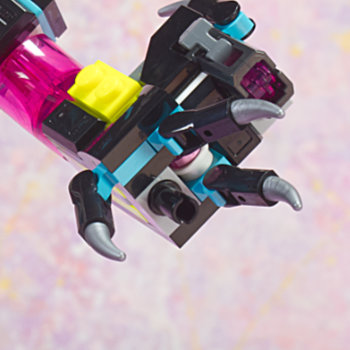
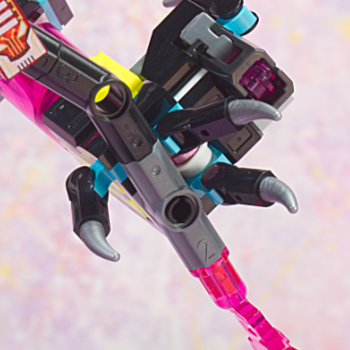
The end of the staff has some articulation and the set art suggests that the dreamling gets placed in that end. The assembly is however off by just about one plate as the dreamling can be connected either by the feet at the bottom or the head at the top, but not by both at the same time.

Cyber Brain Scorpion Mech

Scorpion mode starts off with the same torso and head as the Mech version with the head rotated 180 degrees. After completing the build, what promised to be a pretty cool creature turned out to be not so cool. The legs are on each side at odds with one another. Where the location of the small ball joint did not pose much of a problem in the Mech build, here in the Scorpion build, with the addition of the small socket plate, socket fingers are constantly interfering with one another and therefore limiting possible positioning. The construction is such that the legs want to be up and the pincer arms down. Pincer arms also sort of want to be positioned away from the head, as arms and head can bump, more so if the head is rotated.

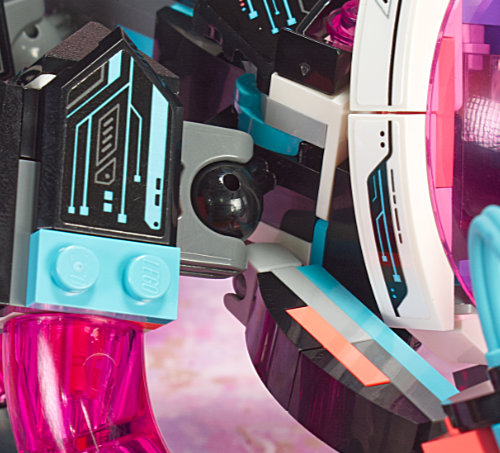
There is insufficient space between the large ball joints along the torso to accommodate the legs being positioned with the knees towards each other. Various other positions are also limited, primarily due to the great blocky assemblages that sit around the large socket bricks.
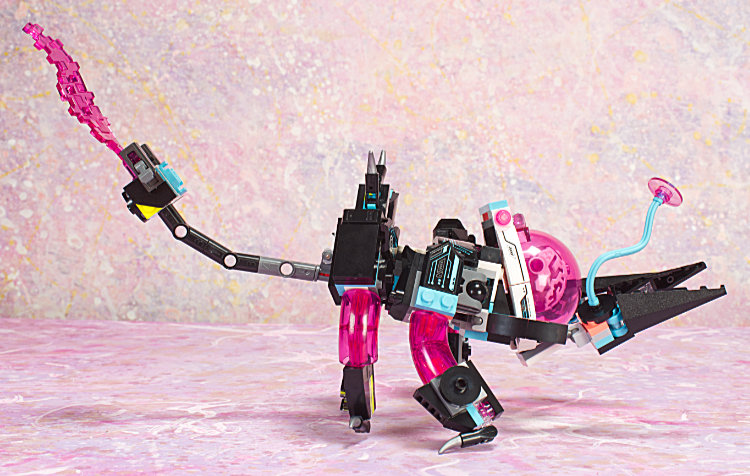
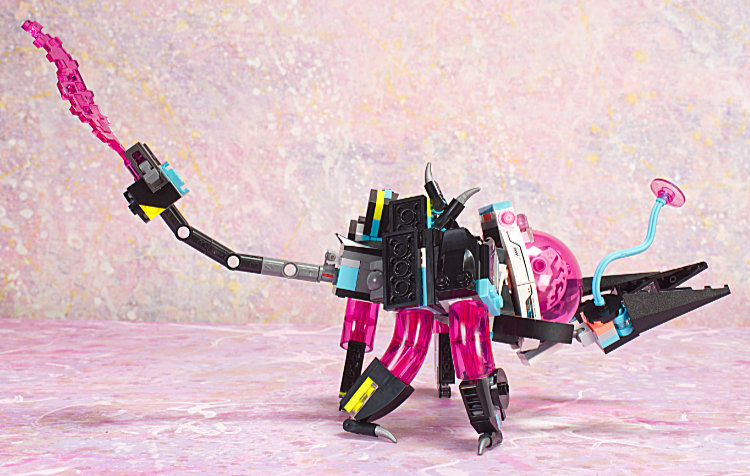
The back legs have some blocky attachments with barbs that are easily removed. Removing these blocks does help somewhat with being able to place the legs in a wider range of positions. These barb blocks frequently became semi detached as they would bump some other part or each other while positioning the legs.
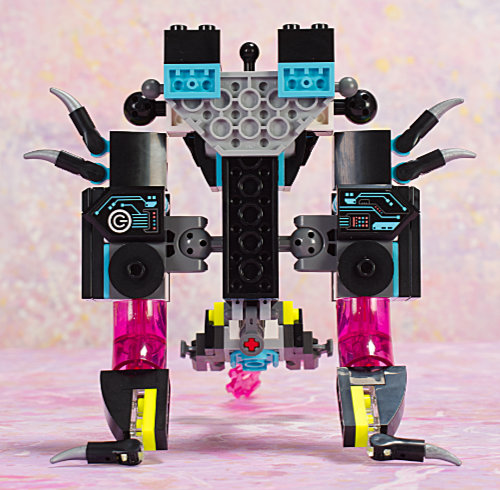

Scorpion is front heavy and dramatic poses I hoped to get were just not possible. It seemed that all four legs needed to be touching the ground or the model would tip over. I tried attaching the curved pink portion of the legs in various orientations to see if that would offer a wider range of leg positions but the results were negligible. The model can be set to be cross-legged, but that is not a terribly menacing position for a scorpion.
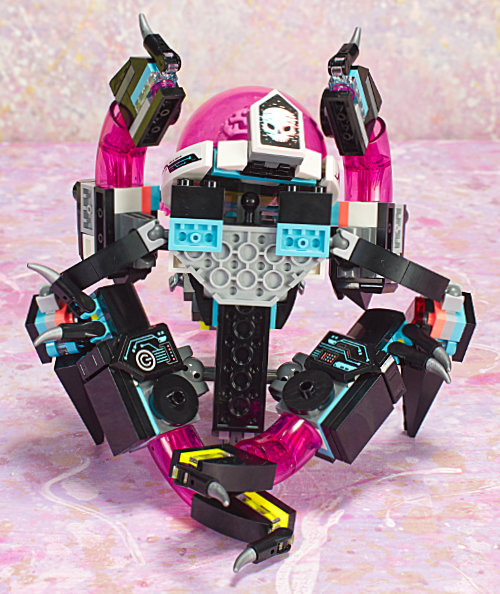
While noting the conflict with their adjacent legs, the pincer arms themselves are quite articulate at both the shoulder and the wrist and many positions can be achieved as long as you can keep the legs out of the way. The pincers themselves have quite a wide range to open and close.
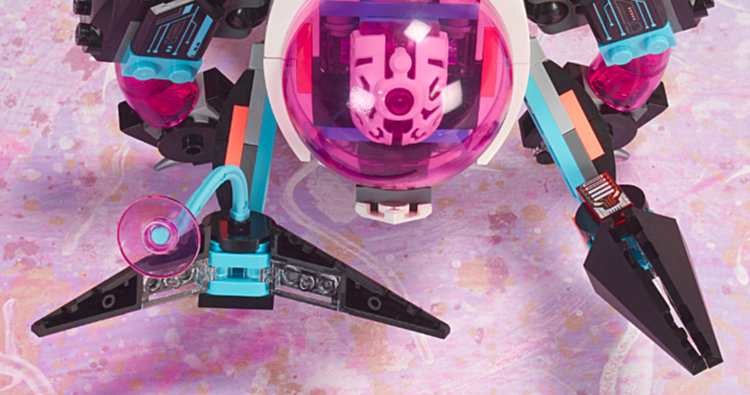
The pincers can hold objects by attaching with a stud, which is a nice feature, however I found the pincers had a tendency to want to de-clip as noted in the shoulder fins noted above. Be aware that if you have used the rubbery wiggly azure bar in the straight Mech build it gets twisted in that assembly and may not remember its original shape when it comes to be used on the scorpion. The set instructions say the set includes one of these wiggly bars, but I had an extra in my set.
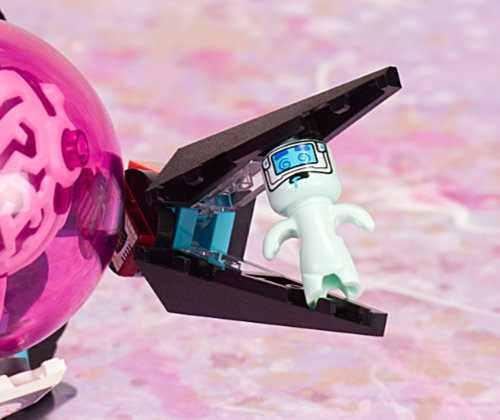
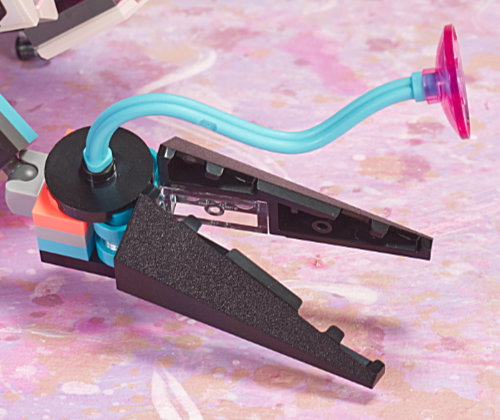
The tail is connected with a bar-and-clip assembly and allows for about 130 degrees of movement. While the tail can be balanced more or less straight up, the tail is heavy, overcomes friction, and quickly settles forward or back when positioned between vertical and the lower extremes.
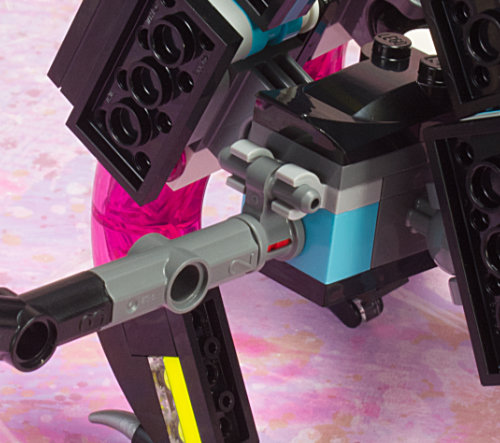
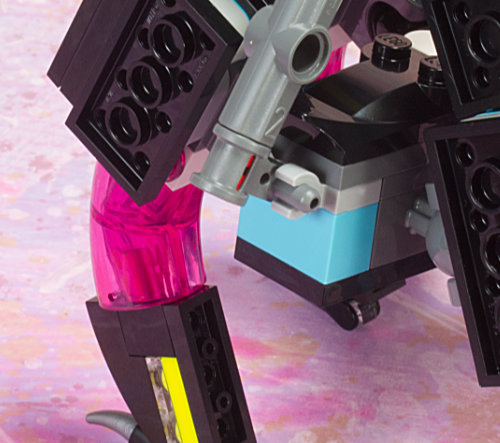
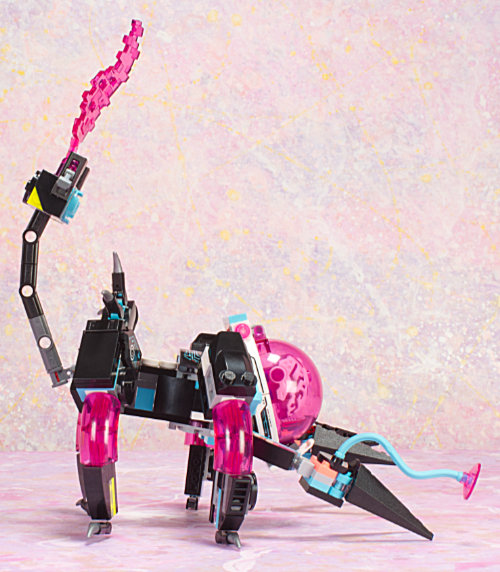

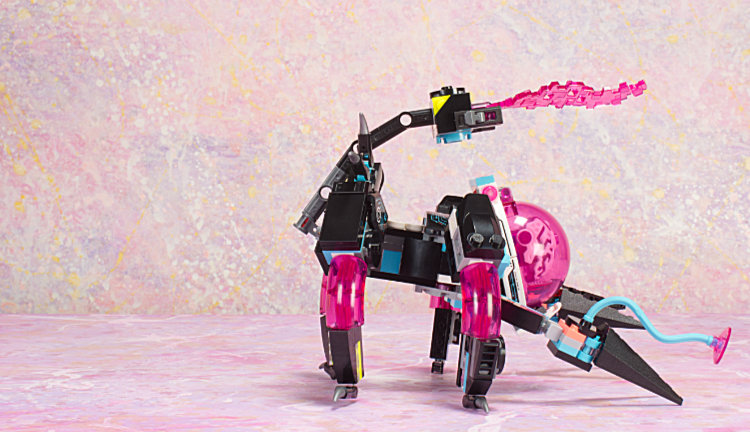
Because the tail cannot be positioned in any sort of down orientation neither can the attached stud shooters. Even if the scorpion does a face-plant the shooters are not at a practical angle for firing at minifigures. I did find the tail wanted to come off and did at times while positioning the model for photos.
Hybrid
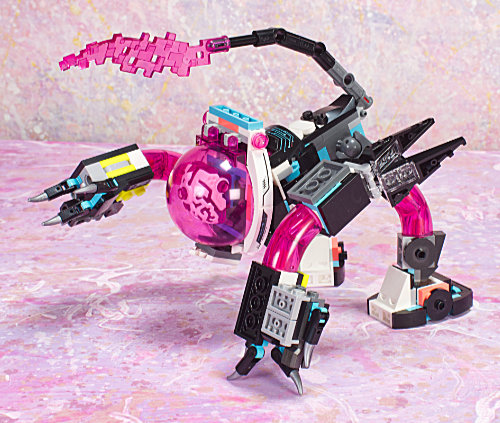
I found that if you just flip the head and arms around (and/or swap the arms) on the regular mech and add a tail, you have a more functional scorpion. Granted it doesn’t have the pincer arms but, if you want, parts from the feet and extras can be cannibalized to create arms. (Not all parts are used in either build as is often the case with the Dreamzzz models, so there are almost always a few leftovers.)

Minifigures
Now to minifigures, there are two: Mateo and a dreamling. Three things to note: 1) there is no limit to how ridiculously oversized brick-built minifigure weapons can be, 2) regarding Mateo’s headgear, the set does not include an alternate wig piece, and 3) with the hood and cape piece, the cape side is heavy…the center of balance for the part is about elbow level when on the figure, so decidedly behind the figure…making the figure want to fall back.
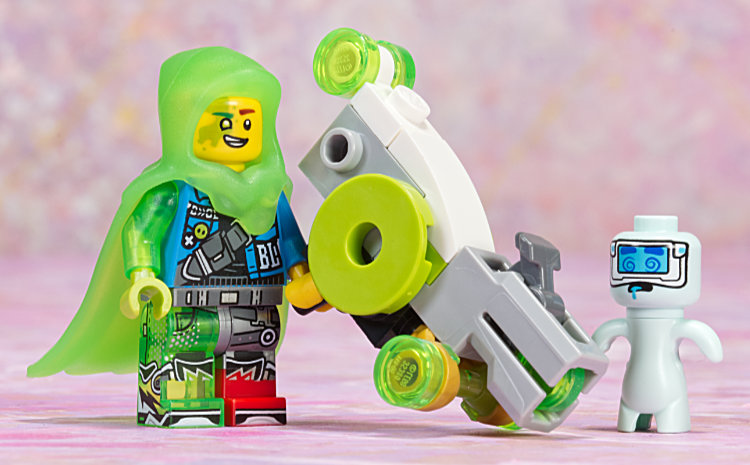

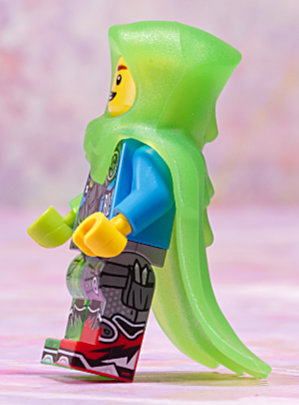
If you expect Mateo to be stand-up usable with or without the weapon, you are probably going to want to attach a fairly substantial plate to his feet.
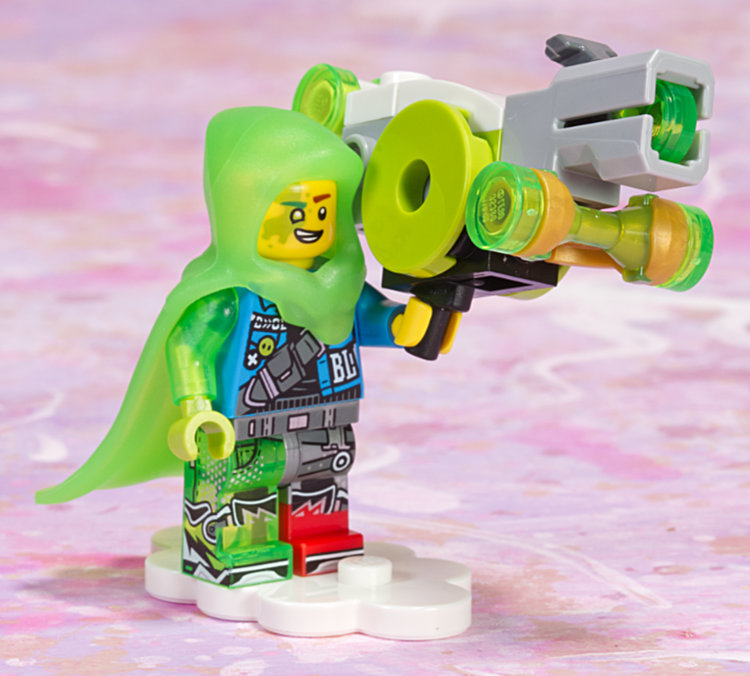
Balance aside, LEGO kind of went all out when creating the Mateo figure. He has a transparent arm, a transparent leg, and a dual-molded leg. The legs are decorated on the front and sides, the torso is decorated front and back, and the hips are decorated. I still find it curious that they bother to decorate the back of the torso when they effectively cover that with the cape but I guess front and back torso decoration is the current standard.


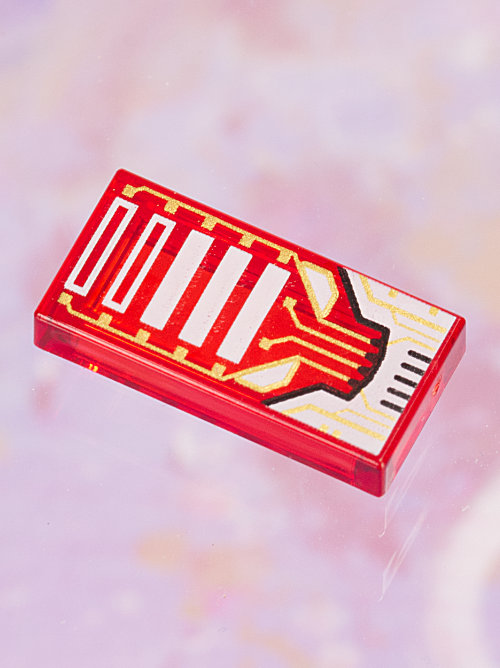
Regarding other decoration, aside from the figure elements, there is one printed part and there are some stickers.
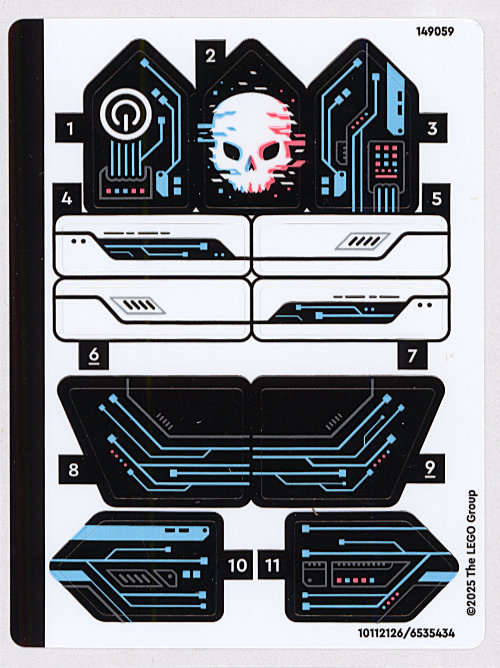
The Randolph T. Fielding Absolutely Administrivia Section
New part 7220 hood with cape is rubbery and while LEGO is calling it Transparent Bright Green it is more translucent than transparent and has a pebbled finish. My first thought seeing this part was that I wanted to see it in black, but on further inspection I noticed its gloopy blob nature…which is very Mateo…and then I thought: never gonna happen.
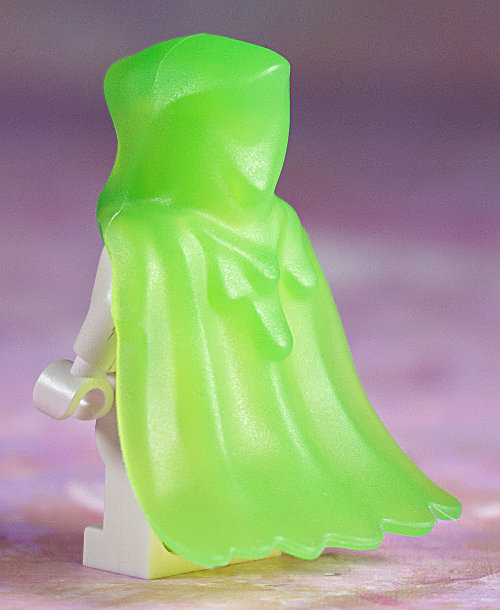




The part number is located in the top of the hood.
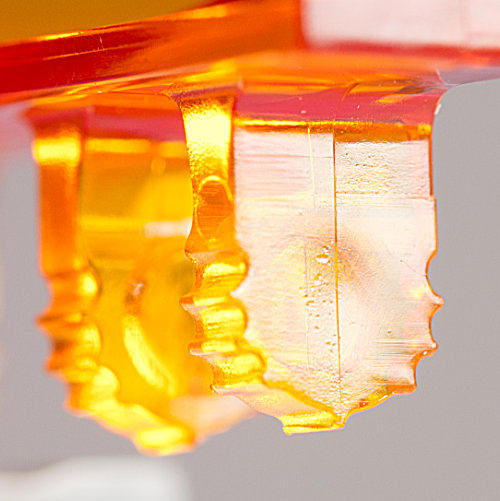
The set uses part 52979 dome. This varies from the similar 50747 at the clip finger with a smaller corner radius (1) and pebbled side. The 52979 friction pip connects at about a 45 degree angle to the finger where 50747 starts at an angle then changes perpendicular to the finger (2).
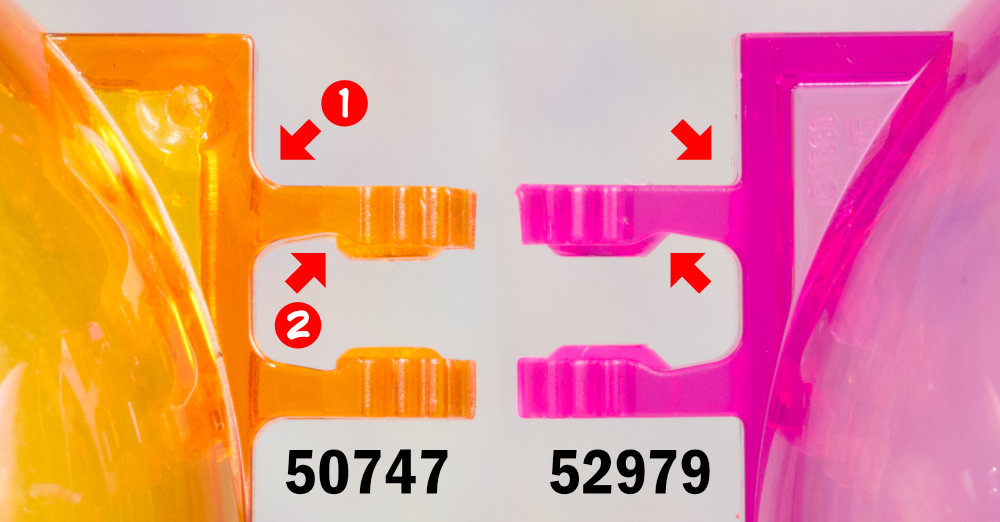
50747

52979
New part 7131, not sure what to call it, cyber flame, I guess. Usually elements like this are fairly flat, but this has a slight corkscrew to it.


Socket and Ball parts are 67696, 17114, and 57909.
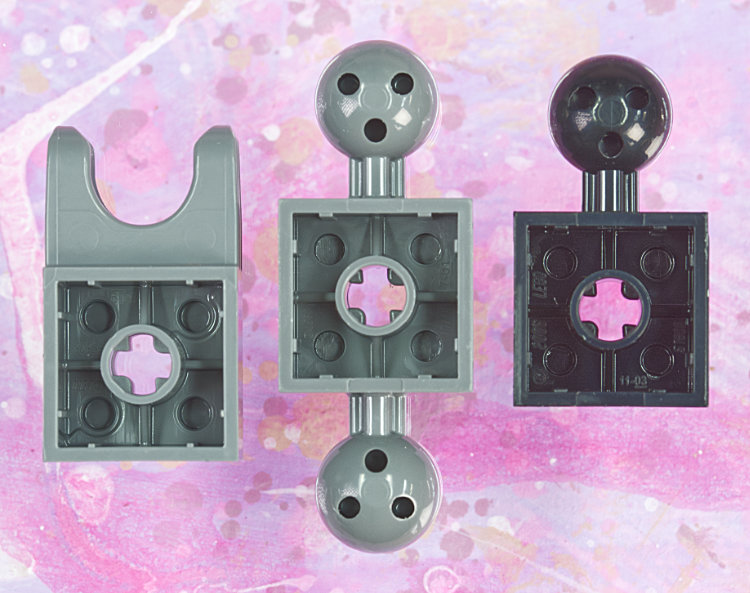
The transparent 1x2 with clip is 42923.

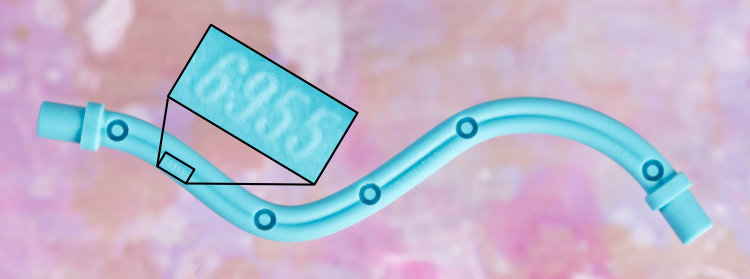
For those of you who are playing “where is the part number” at home, here is where you can find 6955.
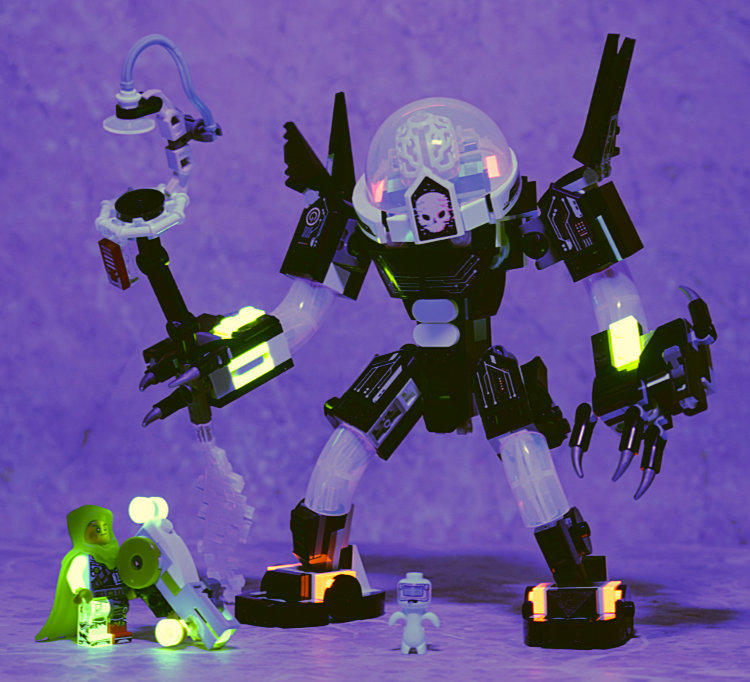
No particular surprises in the fluorescence department, though it may be noted that while the hard plastic transparent bright green parts glow, the soft plastic transparent bright green hood-cape does not.
Summary
From a build perspective, both versions of the set are entertaining. Play-wise Straight Mech mode is a fair delight but Scorpion Mech mode is sort of a hot mess due to the leg situation. While Scorpion Mech as designed is a bit of a disappointment in terms of play, a user-modified version is attainable, and the ability to modify, adjust, or make your own version should be seen as a strength of the LEGO product. The Mateo figure has balance issues due to weapon and cape. Given the price point on the product of about $35 / 30€ I give the set a qualified recommended.
Disclaimer
Thanks to LEGO for kindly providing the set for review.
33675